Production Blog - Editing the Music Video
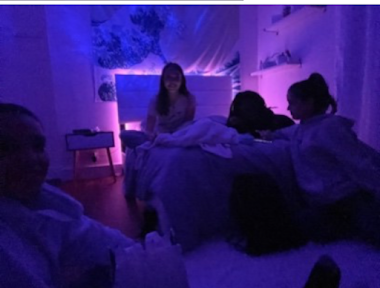
After my group and I had completed filming most of the music video, I began editing. We continued to use the same application that we had been using so far, CapCut. Since the recording was done on my phone, we airdropped it to a laptop for better quality and smoother control of the editing. First, I looked at all of the takes my group and I took. I chose the takes that looked the best and asked my group for agreement. After I found our shots, I inserted them into CapCut. For some clips I had to shorten them due to the fact that I had to make the visuals and audio go well together. For some parts we had to cut some of our content to be able to fit the maximum time. Then, I asked my group if we should’ve added a filter, however they felt it was better without and I agreed. We rewatched our edited film to see if it was good as it was, but we altered and added some things. At the beginning for the first shot I included a fade-in to give it a more majestic introduction. Additionally, I inserted a fade-out in the video to make the conclusion seem powerful and elegant. Furthermore, for a section in the video, that we had yet to complete, was missing. This was the part where we had planned to go to the mall to film ourselves in stores. However, due to our parents we could not film this when we went to record everything. Therefore, my group and I decided to leave it for another day. Also, instead of going to the mall we decided to go to an ice cream shop, Dairy Queen, near our school. Consequently, for this missing clip in our film we had to record a random video to add it in as a filler. All in all, the editing process was surprisingly quick and efficient. I love how the music video is turning out and each individual in my group has helped tremendously.


Comments
Post a Comment